Our 5th wheel’s original layout had some quirks, to say the least. Finding out how to reposition your dinette for comfort seemed like a perfect next step. Originally, the dinette was across from the kitchen and adjacent to the entertainment center. It was a setup that worked, but it wasn’t quite comfortable for us. With Mike’s tall 6’4″ frame, there was only one side of the table that he could fit into. We felt watching TV was awkward. However, we though we would like an L-shaped dinette, which would also allow for additional seating for guests by pulling up extra chairs. Also, we wanted the dogs to be able to sit with us after dinner on the benches, and there was never enough room with us sitting together on one bench. We have a much older RV and so there’s no harm in changing the layout to better suit our lives.

Before starting the move, the first hurdle was the table. Its metal legs were fixed to the floor with brackets. We detached the table from its legs, then pried the legs out of the brackets, and unscrewed the brackets from the floor. With the table safely stored away, we were left with more room to maneuver the upcoming task.
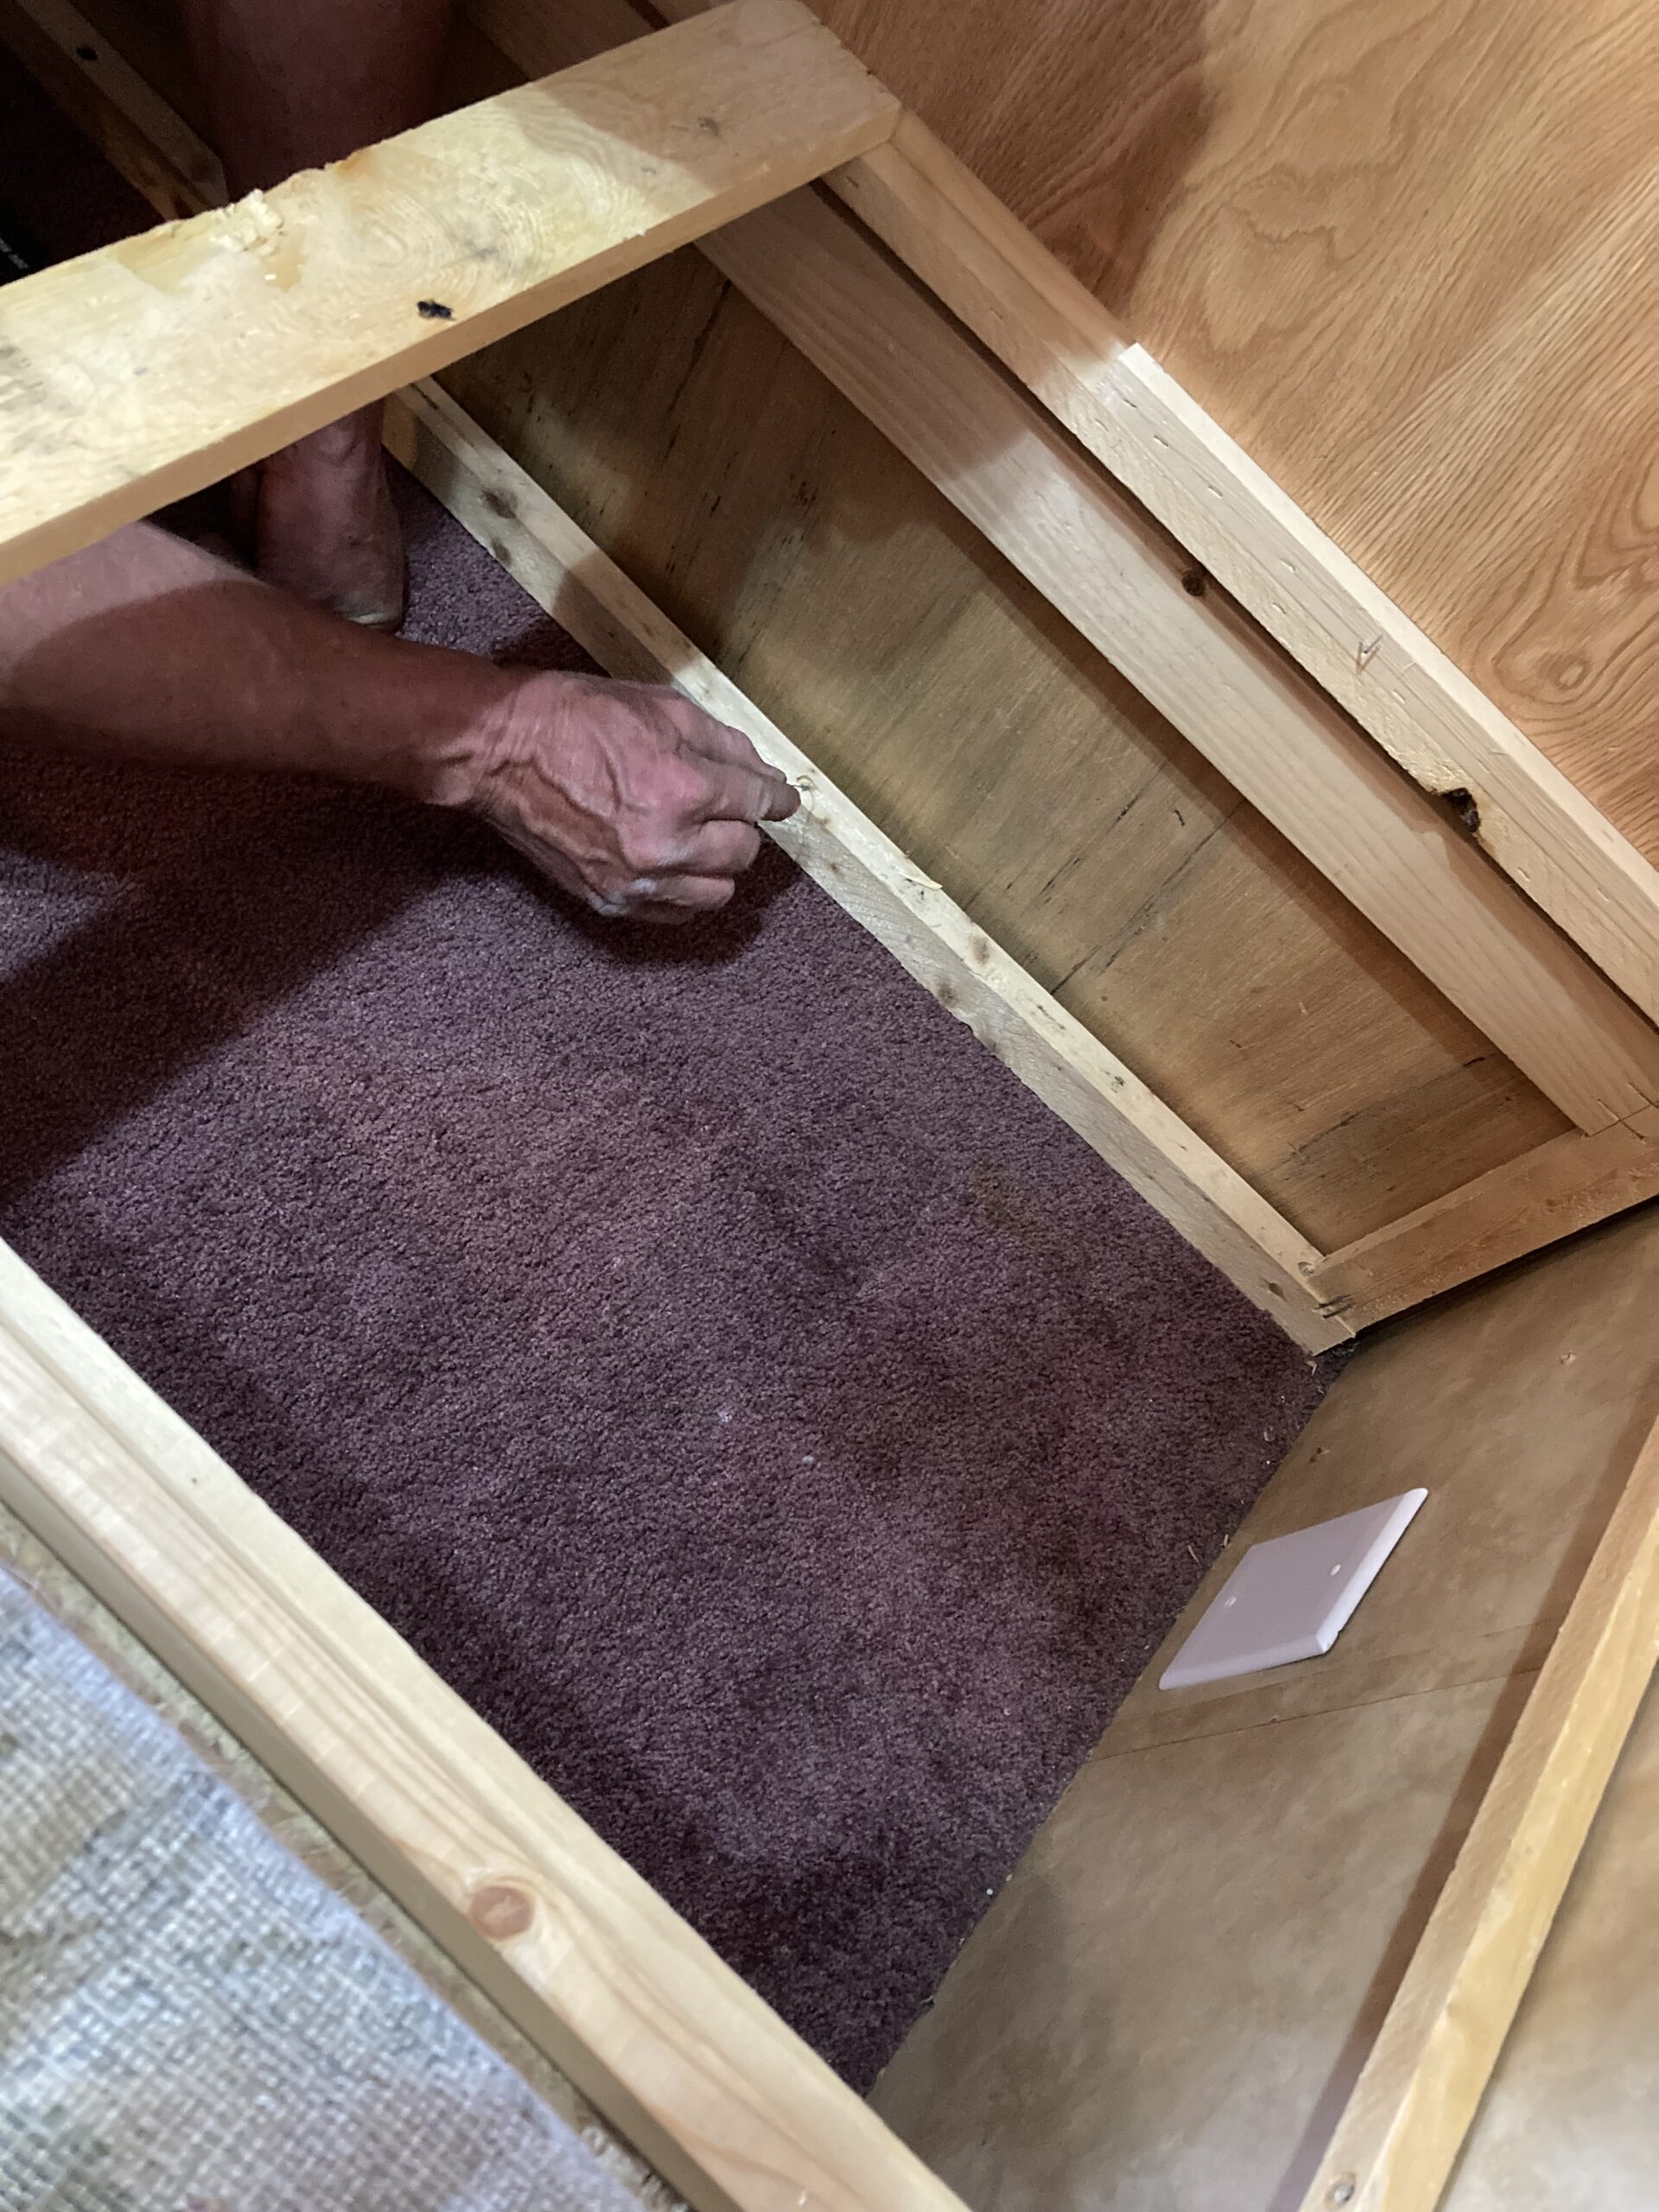
Now came the real challenge: the dinette benches. They were well-secured to the RV, making it hard to find the screws and staples that held them to the wall. But we were determined to move them without causing much damage.
After removing the cushions and seat base, our first task was to hunt down all visible screws and remove them. After removing all visible screws, the bench was still fastened to the wall, and we realized it was connected by some staples and a couple of hidden screws. Using a bit of clever twisting, we managed to create a gap wide enough to slip in the blade of a saw and cut through the stubborn screws. What an pain that was! The wall showed a bit of damage with scuffs and screw holes, but those will disappear when we fill the holes and paint the interior next year.
With the first bench finally free, we shifted it to the other end of the slideout and rested it against the short wall. For the moment, we left it unsecured, waiting to finalize its position. The second bench had its own hidden screws nestled under the trim. Despite the challenges, we managed to uncover them and free the bench. In the process, we discovered some mold in the corner underneath the cushions. But a quick cleaning with white vinegar took care of that.
After cleaning, the second bench was moved to create our desired L-shape, aligning it perpendicular to the first bench along the long wall.
We liked the new dinette bench placement and so our next steps were to screw the benches to the floor, ensuring they could not move around. The first bench was pressed against both the short and long walls to ensure a tight fit and the screws installed to the floor. We also screwed two short screws at an angle into the wall.
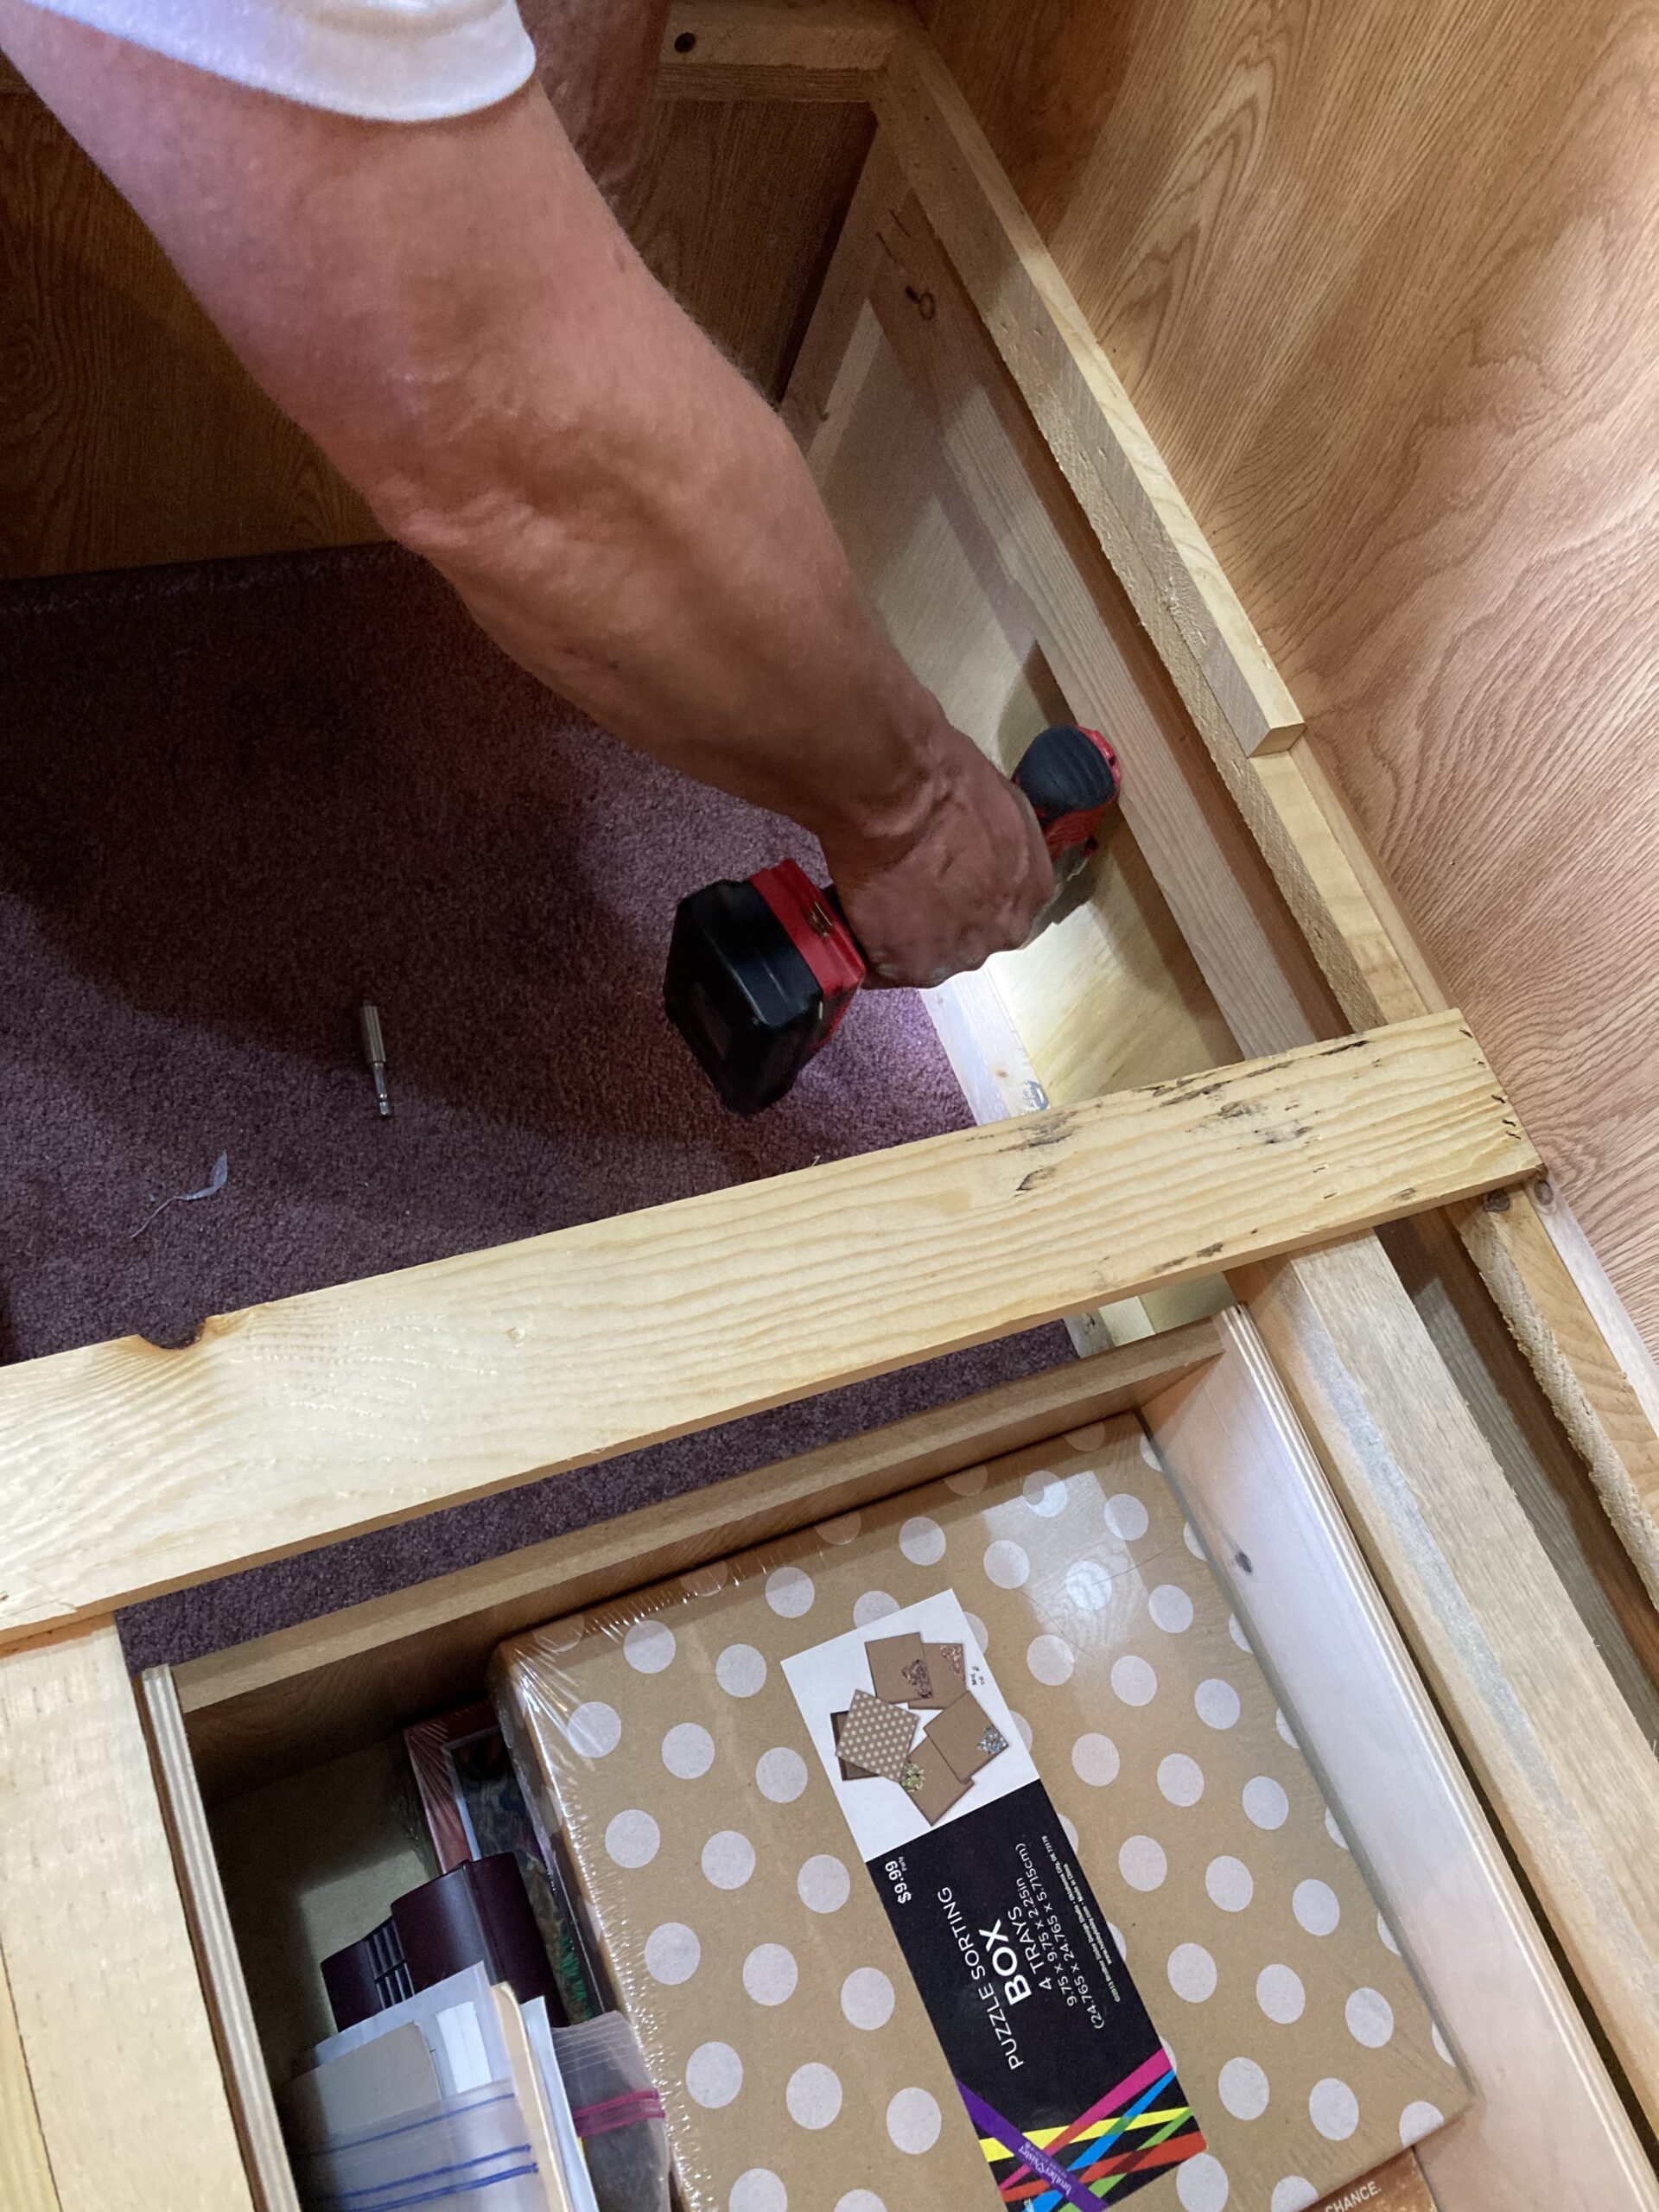
Next came the second bench. The bench was snugged up to the first bench and the long wall and then fixed into place with screws into the floor and two screws secured the second bench to the first bench. And just like its counterpart, we felt no need for additional screws at the top. The benches were then reunited with their seat platforms & cushions, now more inviting than ever. But no dinette is complete without a table.
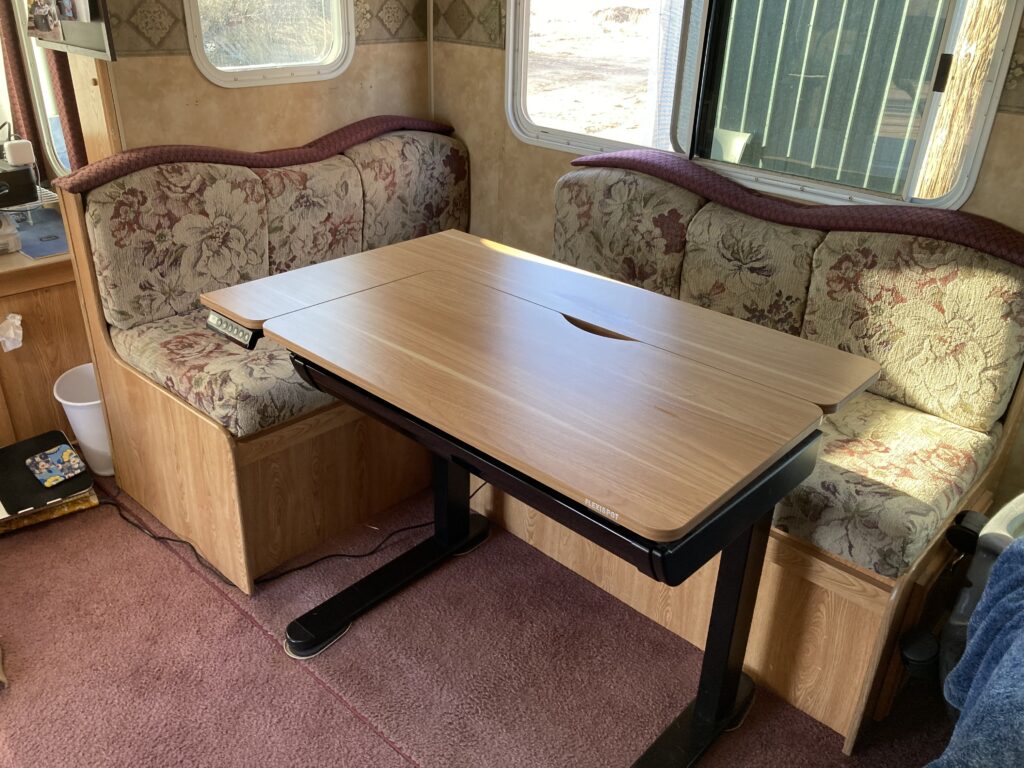
I thought about building a new table, but first we tried using my desk as the table. The desk’s legs were in very inconvenient places and hit our legs when we tried to sit at the table.
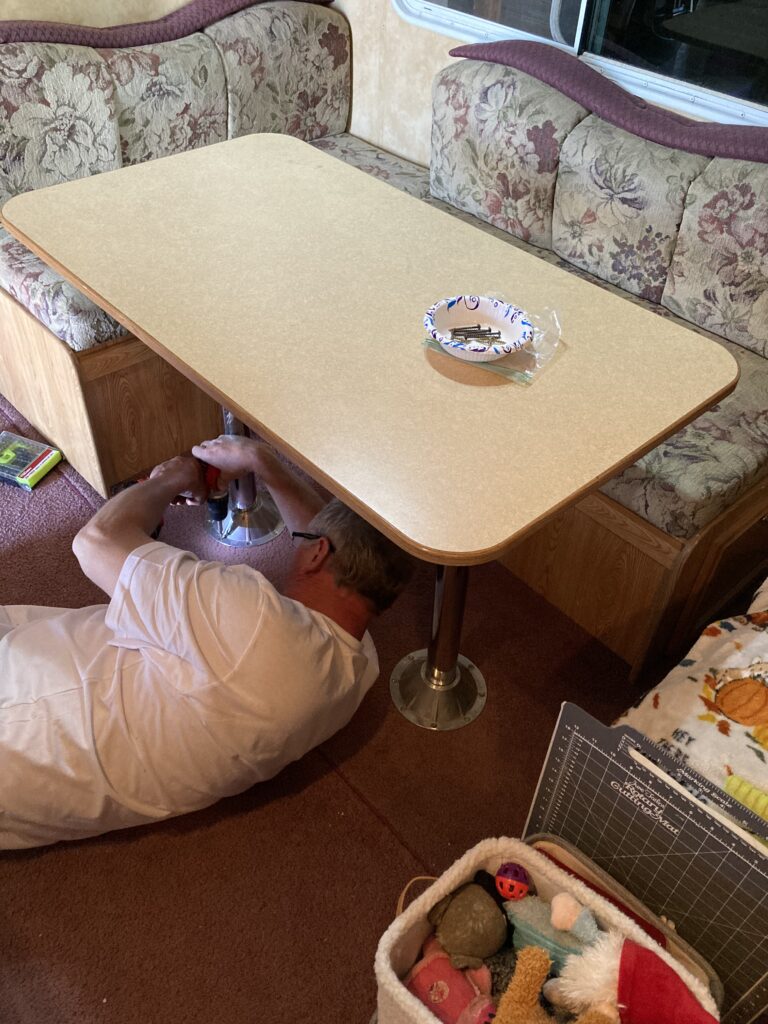
After a week of trying to work around the awkward leg placement, we moved the desk back to the end of the RV and reinstalled the old table in the new location. The best part about reinstalling the table is that we could ensure an equal amount of ease all around the table, so it would be easier for Mike to get his large feet and long legs under the table.
First step was to attach the mounting brackets to the floor, followed by the installation of the metal legs. Last step was to place the table top on the legs and press down to seat the legs into the table’s brackets.
As we stood back and admired our handiwork, we felt a surge of accomplishment. We had successfully moved our dinette, enhancing its functionality and comfort. Looking forward to many happy meals and memory-making moments in our newly renovated space, we felt more at home in our RV than ever.

It’s been a wild ride, this dinette renovation journey, and we’re delighted to share it with you. Making your RV fit your lifestyle can be challenging, but it’s also fun and rewarding! Stay tuned for more RV renovation tales, as we continue to transform our 5th wheel into a comfortable and practical living space. Happy RVing!